VPS Nodejs
im currently building this page so wait one sec pls. dont look yet!
== Tutorial of Hosting a Server with Node.js ==
https://user.uploads.dev/file/25d0f67badba02621228bc6f4e0dbd7d.jpg
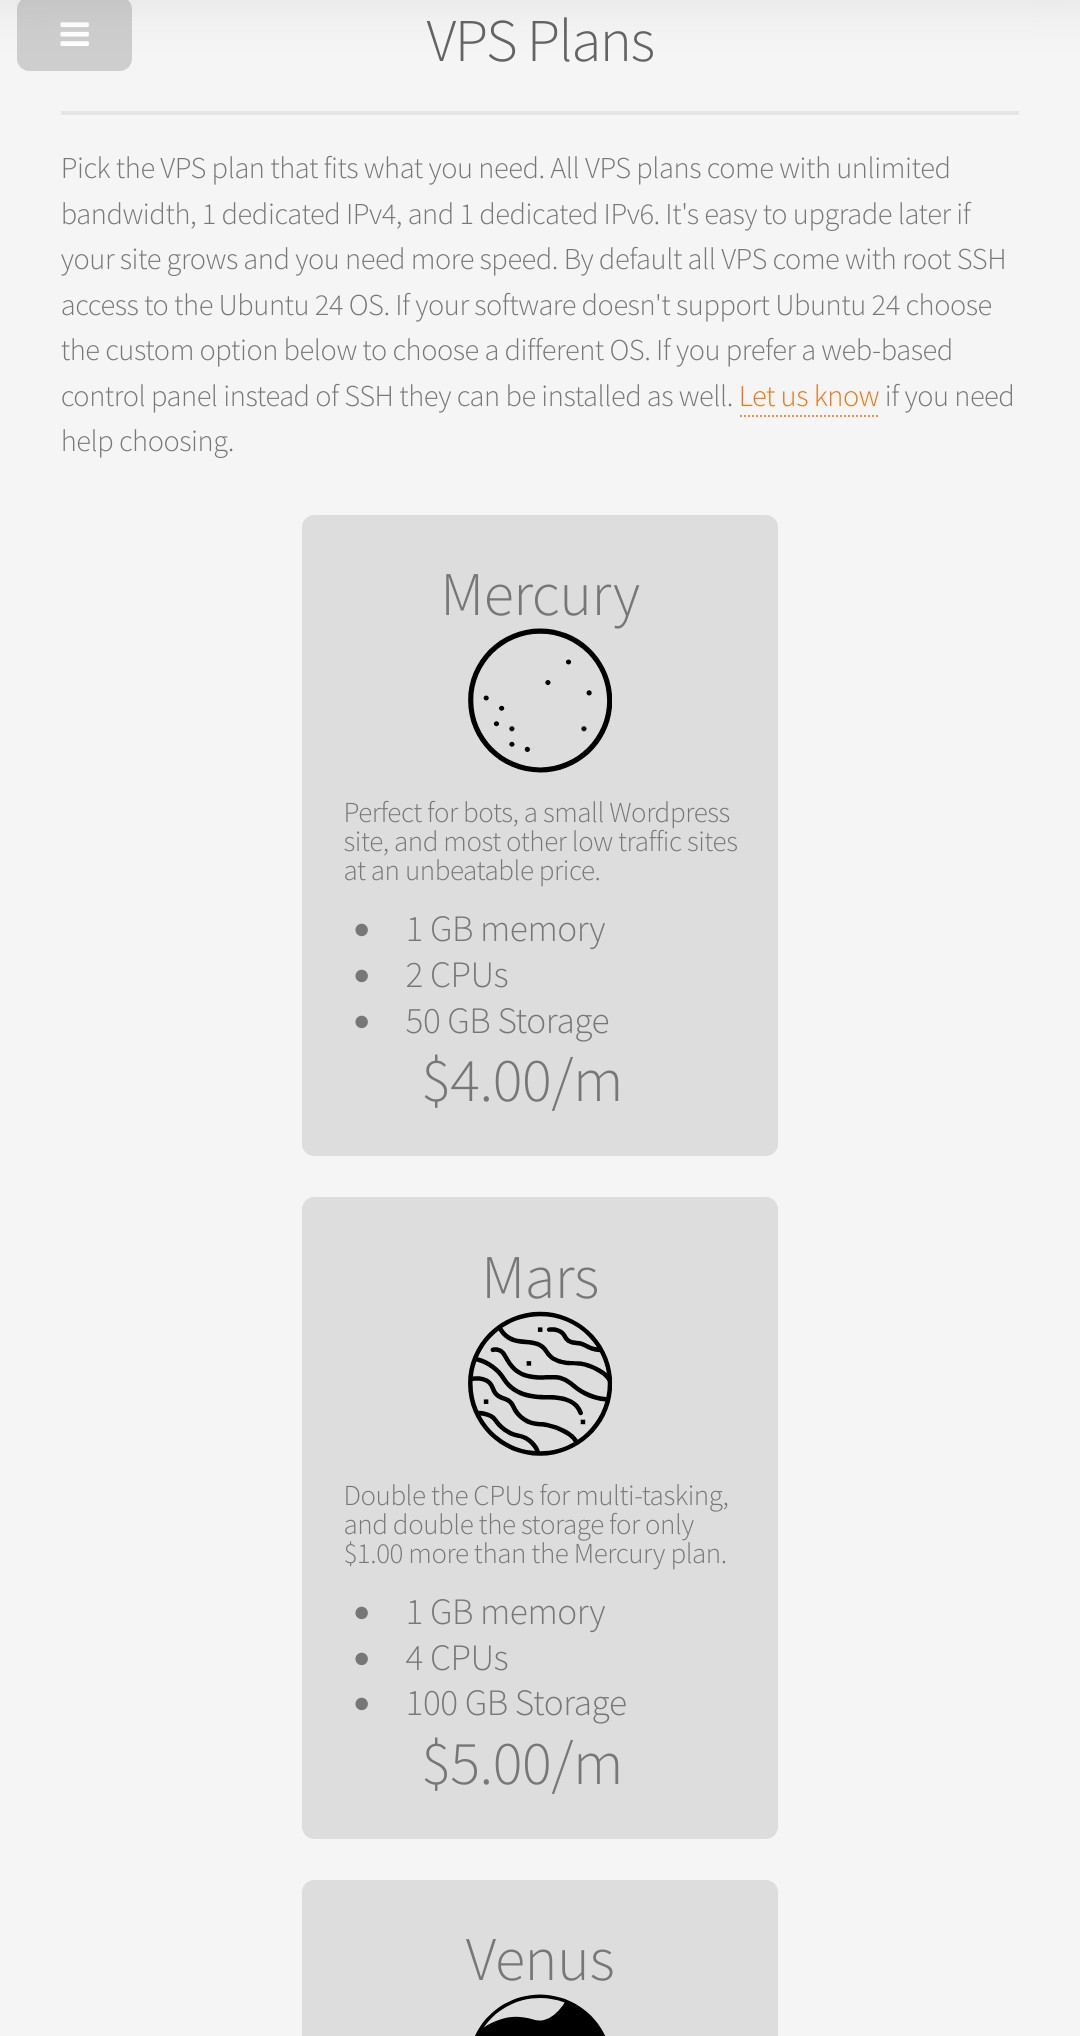
In https://heliohost.org/chat/ say you are getting a VPS and that you would like it to come with Hestia installed on it. Hestia is the control panel we will be using. If you don't want to pay with paypal you may also ask for an alternate payment link.
You should get an email listing your ip, port, and other info for logging in. I did this all on phone so now I'm going to direct you to some android apps, tho there are equivalents for all devices. just search 'sftp' or 'ssh'.
I use https://termius.com/ because i like the terminal and it doesn't weirdly close for no reason. And NMM at https://play.google.com/store/apps/details?id=in.mfile&pli=1 for editing the files of the server since Termius can't do that.
In to Hestia
Before we log in to the apps, let's try logging in to Hestia. In your email see where it says your domain is vps###.heliohost.us? ### refers to your specific number in the email. Add a :8083 so the link is vps###.heliohost.us:8083 and go to it in your browser. You should find a login page with the username being 'admin' and password being your password. Enter those and you are in the Hestia Control Panel. Explore around it a bit.
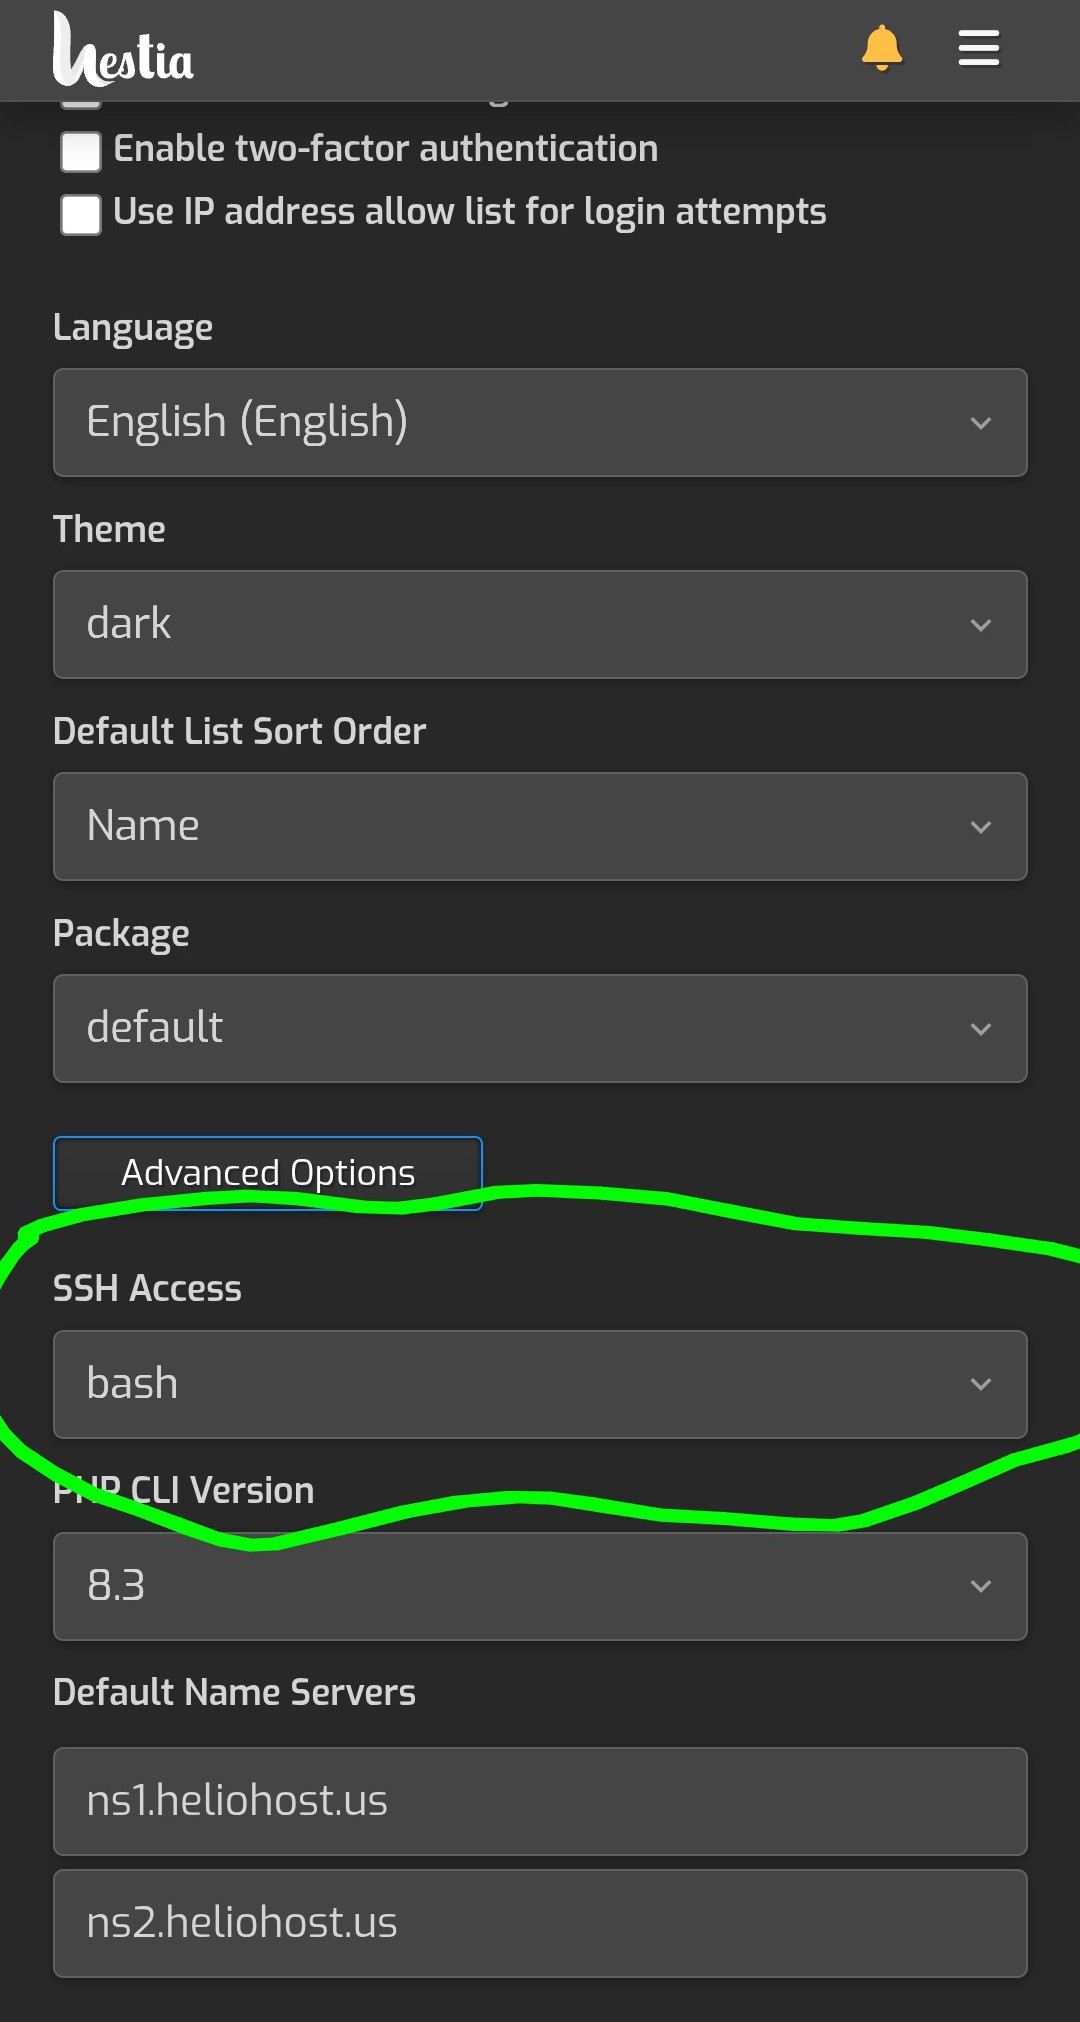
Now lets change account setting from nologin to bash, and link our first domain.
To change from nologin to bash, touch the three bars below the top three bars, go to users, and touch the admin user. Go to the bottom where it says Advanced Options, and change nologin to bash.
https://user.uploads.dev/file/3608ccdc4d5bdfed2f55880b272e2e4e.jpg
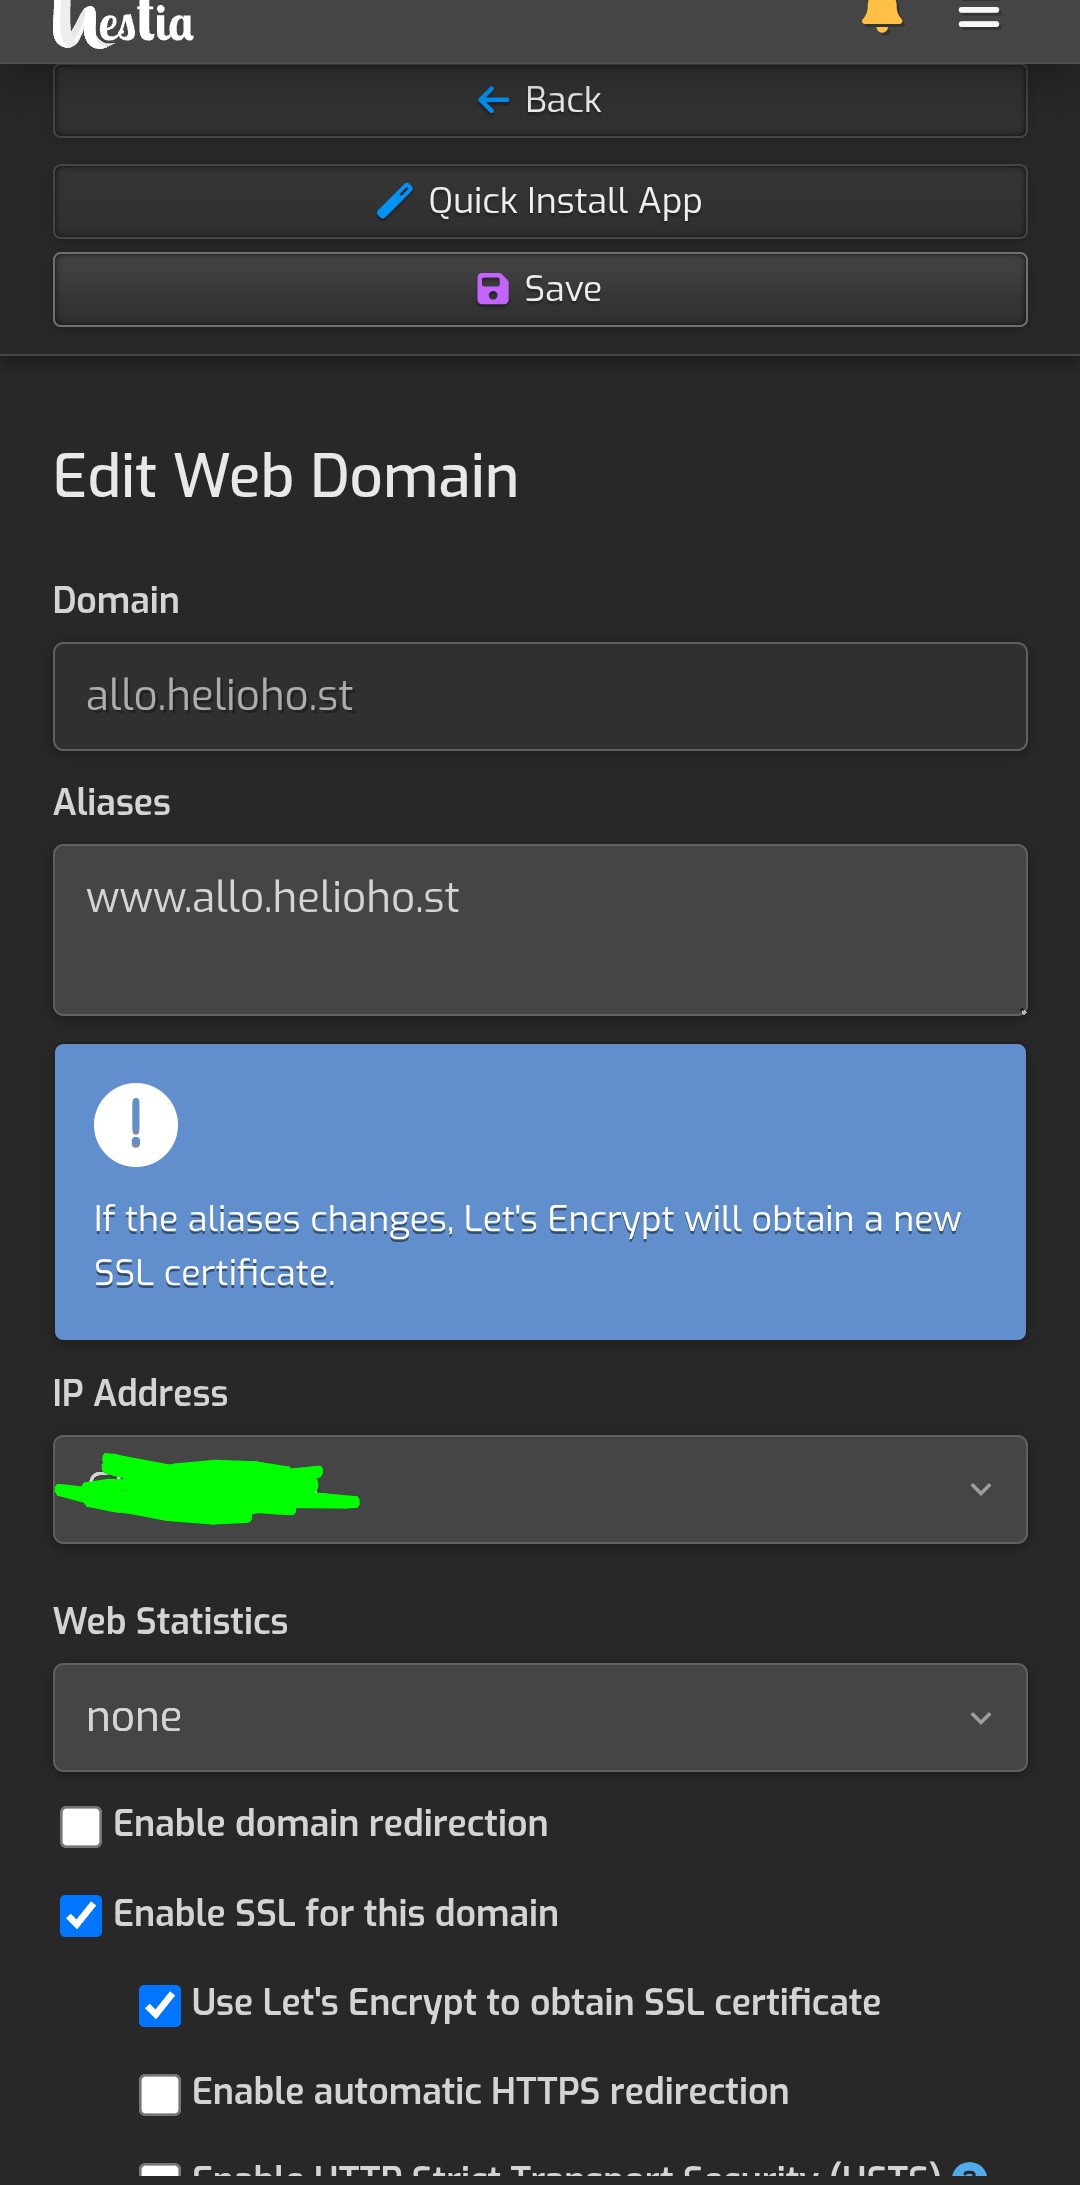
Now to add a domain so u can have the node site online somewhere. If you ask in support chat they can give you a free heliohost domain to build with.
Touch the 3 bars again and go to Web. Add a new domain with the address and ip. Enable SSL in advanced options. Mine looks like this.
https://user.uploads.dev/file/69c3bd511288969586ad7c3051be65d4.jpg
Terminal Stuff
Now let's open Termius and log in. I would take screenshots but Termius doesn't let me. Skip the logging in and ai stuff of termius and go straight to Hosts and make a new host. Set the ip to either of the ips from your email. I use the ipv6 one and no idea if there are limitations using the ipv4 one or not. :)
port should already be on 22 correctly and enter username admin and your password.
https://user.uploads.dev/file/b95f4acd8017d1ab19d0d5fbfd807fb4.jpg
You will find terminal stuff is filled with Permissions issues and nearly any command will have to be prefaced with sudo... OR you could just log in as root; so let's do that now. Type and enter sudo su. It will ask for your password. Enter it and afterward you should see you are logged in as root.
Now lets make sure these files are created and give them the correct permissions. These files are used to create a node.js template in Hestia. Enter each of these lines in terminal.
touch /usr/local/hestia/data/templates/web/nginx/nodejs3000.sh
touch /usr/local/hestia/data/templates/web/nginx/nodejs3000.tpl
touch /usr/local/hestia/data/templates/web/nginx/nodejs3000.stpl
chmod 777 /usr/local/hestia/data/templates/web/nginx/nodejs3000.sh
chmod 777 /usr/local/hestia/data/templates/web/nginx/nodejs3000.tpl
chmod 777 /usr/local/hestia/data/templates/web/nginx/nodejs3000.stpl
I am a noob and chmod 755 is supposed to work while still restricting some users, but didn't work for me. 777 allows any user to edit the file. This doesn't mean random people on the internet can edit it, but if you are a business that shares the webserver with multiple users each with their own login, each one can edit this file. So I used 777, but feel free to do it correctly instead (if you know how).
sftp file editing
Now lets add in what is supposed to go in each of these files. Start the NMM app and log in with the same info you used with Termius. Then touch your files and go to the lowest level and you should see: https://user.uploads.dev/file/fad1b70e9c0d634b1855d0100f105658.png
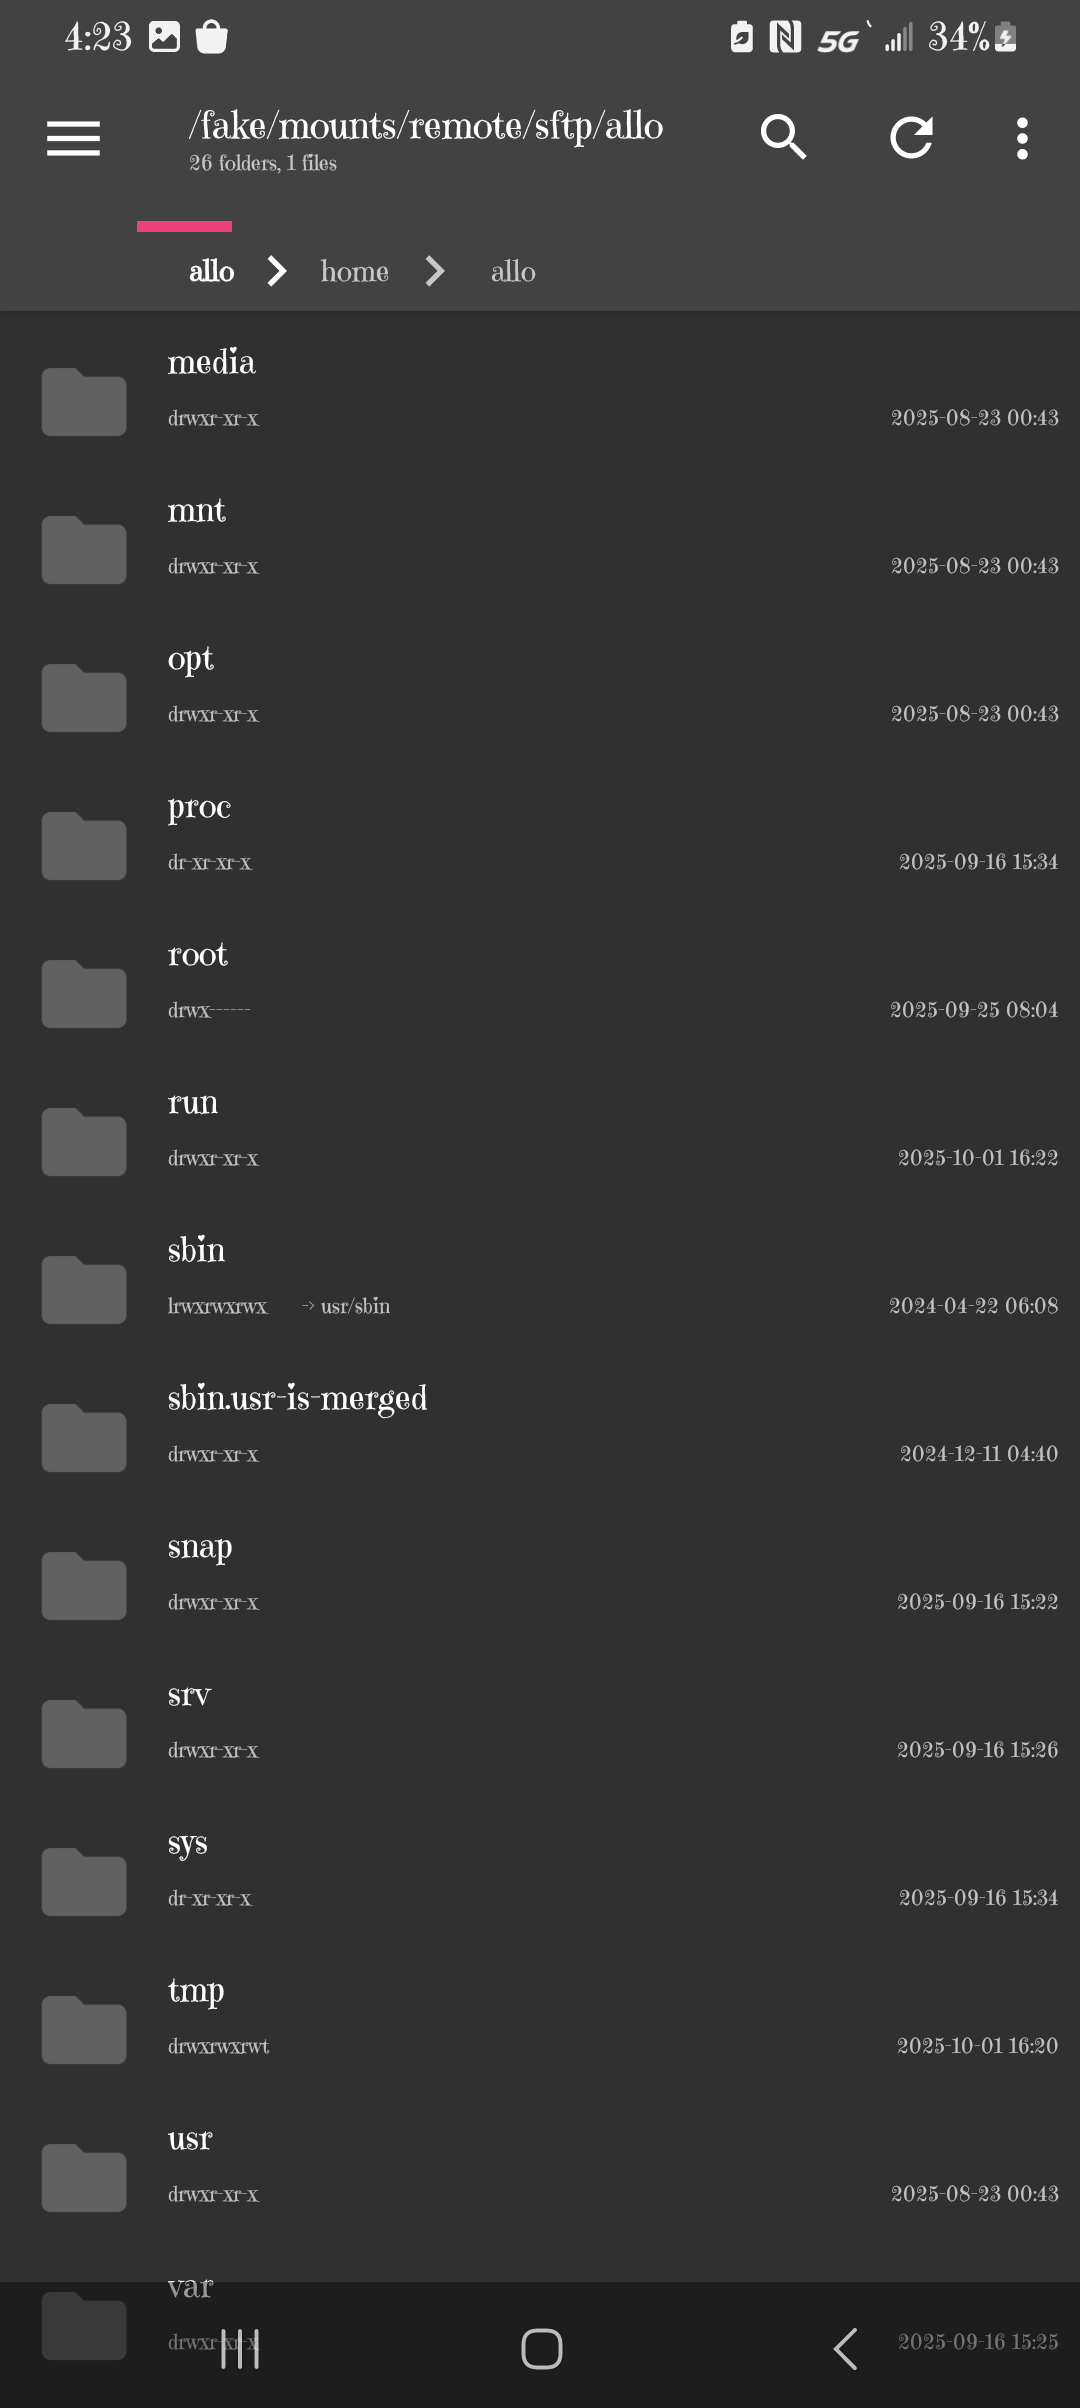
Navigate to the files you touched; they are at /usr/local/hestia/data/templates/web/nginx/.
Copy and paste these in to each file and save. Also you will probably have to deal with permissions. Here is the text for nodejs3000.sh
#!/bin/bash
user=$1
domain=$2
ip=$3
home=$4
docroot=$5
mkdir "$home/$user/web/$domain/nodeapp"
chown -R $user:$user "$home/$user/web/$domain/nodeapp"
rm "$home/$user/web/$domain/nodeapp/app.sock"
runuser -l $user -c "pm2 start $home/$user/web/$domain/nodeapp/app.js"
sleep 5
chmod 777 "$home/$user/web/$domain/nodeapp/app.sock"
Here is the text for nodejs3000.tpl
server {
    listen %ip%:%proxy_port%;
    server_name %domain_idn% %alias_idn%;
    error_log /var/log/%web_system%/domains/%domain%.error.log error;

    location / {
        proxy_pass http://127.0.0.1:3000;
        proxy_http_version 1.1;
        proxy_set_header Upgrade $http_upgrade;
        proxy_set_header Connection 'upgrade';
        proxy_set_header Host $host;
        proxy_cache_bypass $http_upgrade;
    }
    location /error/ {
        alias %home%/%user%/web/%domain%/document_errors/;
    }

    location @fallback {
        proxy_pass http://127.0.0.1:3000:/$1;
    }
    location ~ /\.ht {return 404;}
    location ~ /\.svn/ {return 404;}
    location ~ /\.git/ {return 404;}
    location ~ /\.hg/ {return 404;}
    location ~ /\.bzr/ {return 404;}

    include %home%/%user%/conf/web/nginx.%domain%.conf*;
}
Here is the text for nodejs3000.stpl
server {
    listen %ip%:%proxy_port%;
    server_name %domain_idn% %alias_idn%;
    return 301 https://%domain_idn%$request_uri;
}
server {
    listen %ip%:%proxy_ssl_port% http2 ssl;
    server_name %domain_idn% %alias_idn%;
    ssl_certificate %ssl_pem%;
    ssl_certificate_key %ssl_key%;
    error_log /var/log/%web_system%/domains/%domain%.error.log error;
    gzip on;
    gzip_min_length 1100;
    gzip_buffers 4 32k;
    gzip_types image/svg+xml svg svgz text/plain application/x-javascript text/xml text/css;
    gzip_vary on;
    location / {
        proxy_pass http://127.0.0.1:3000;
        proxy_http_version 1.1;
        proxy_set_header Upgrade $http_upgrade;
        proxy_set_header Connection 'upgrade';
        proxy_set_header Host $host;
        proxy_cache_bypass $http_upgrade;
    }
    location /error/ {
        alias %home%/%user%/web/%domain%/document_errors/;
    }
    location @fallback {
    proxy_pass https://127.0.0.1:3000:/$1;
    }
    location ~ /\.ht {return 404;}
    location ~ /\.svn/ {return 404;}
    location ~ /\.git/ {return 404;}
    location ~ /\.hg/ {return 404;}
    location ~ /\.bzr/ {return 404;}

    include %home%/%user%/conf/web/%domain%/nginx.ssl.conf_*;
}
So if you run in to permission issues like I did, you can chmod 777 the problematic folders and files.
At this point you should probably install npm like you normally would with node and also pm2 to start the app correctly. i had eaddrinuse errors when starting not using pm2. so do
apt update && apt install npm -y
npm install pm2 -g
finally we are almost there. Now that those three files are correct, go back in to the hestia control panel, to web, to the domain, to advanced options, and under proxy template select nodejs3000. <img style="width:100%" src="https://user.uploads.dev/file/30178d35f063d742c1215e72069269fb.jpg"> finally we are to the simple node stuff
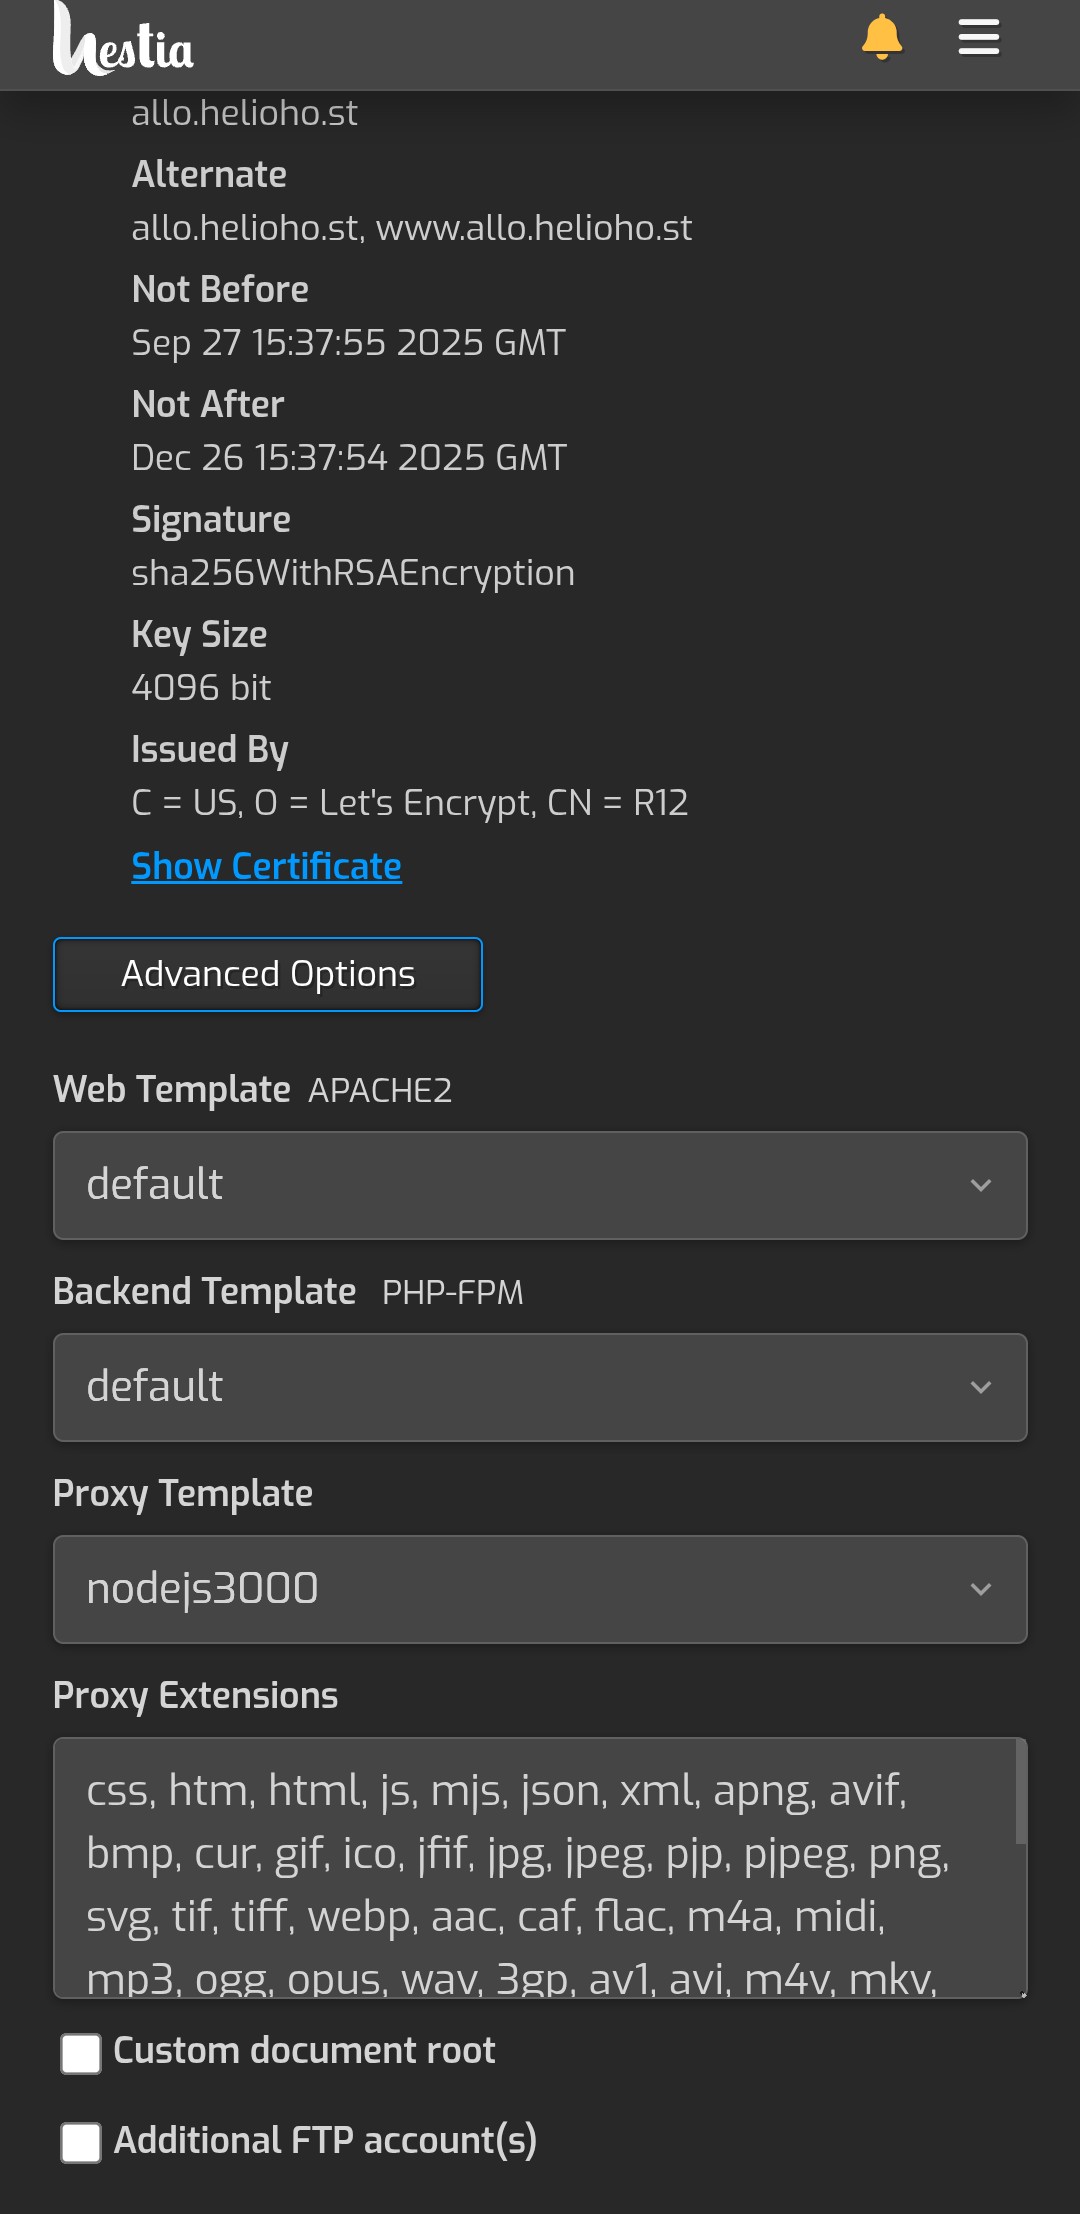
in termius use cd to navigate to the directory referenced by the template:
cd /home/admin/web/allo.helioho.st/nodeapp
Use your domain instead of allo.helioho.st. also people will tell you to make a new user account instead of do it under admin. I didn't tho. I just wanted to complete the process of getting a node site fully online; Upon learning that, I'm making the other accounts, and you can too.
now we npm init in that folder to start a node project:
npm init -y
Now here is a starter hello world node file.
const http = require('http'); // Import the built-in http module

    const hostname = "127.0.0.1"
    const port = 3000; // Port to listen on

    // Create a server instance
    const server = http.createServer((req, res) => {
      // Set the response header
      res.writeHead(200, { 'Content-Type': 'text/plain' });

      // Send the response body
      res.end('Hello, World!\n');
    });

server.on('listening',function(){
    console.log('ok, server is running');
});

    // Start the server and listen for incoming requests
    server.listen(port, hostname, () => {
      console.log(`Server running at http://${hostname}:${port}/`);
    });
open up nmm again and navigate to /home/admin/web/allo.helioho.st/nodeapp and create a file named app.js and paste in the code.
in termius terminal be cd'd in to that folder and type:
pm2 start app.js
Now go to your domain and it should say hello world :)
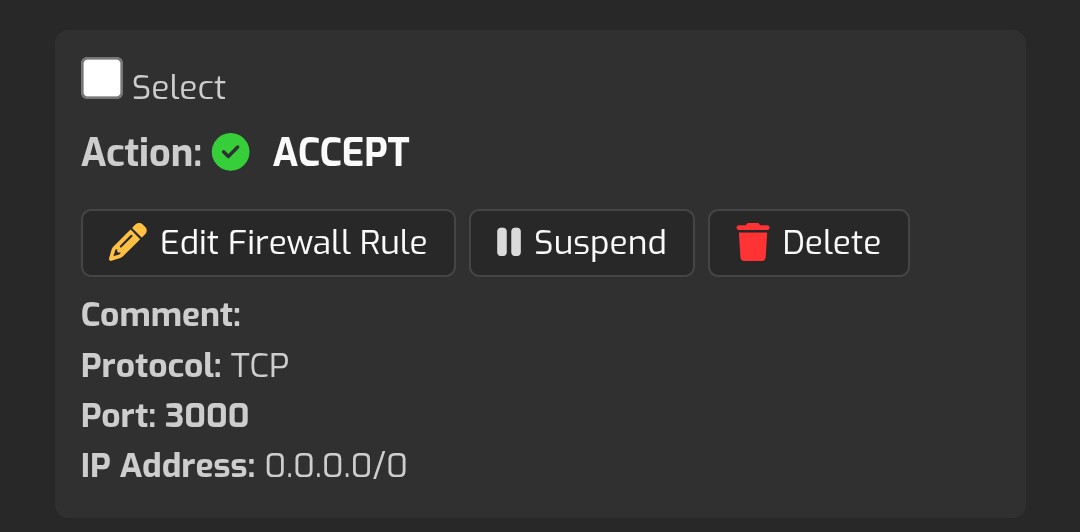
if you have problems, you could allow node's ports 3000 and 449 through the firewall.
For the firewall, touch the three bars in top right, and go to Server Settings, then Firewall and add an exception.
<img style="width:100%" src="https://user.uploads.dev/file/bd8fcc6a2462757df4f424472daf878c.jpg">
I actually don't know if this is required because what was blocking me turned out to have to do with something other than the firewall, but, while searching for answers, I came across someone who implied opening ports 3000 and 449 was needed. so i did both.
Also I was not able to access my site without a vpn initially and this was solved by communicating clearly on the discord support and Krydos deleting the aaaa records off my vps.